L1 Cert Bird: BAAH-1
At long last, after conceiving, then thinking, then thinking some more, then researching, then thinking again, then doing more research, then designing, then reviewing the design and having it reviewed—at long last I’m building.
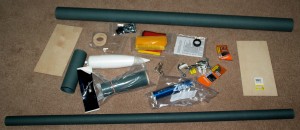
The L-1 cert bird will be about 6′ (1.8 meters or so) long, about 2½” (6.5 cm) diameter. It will have four fins, identical but not in a typical 0-90-180-270 configuration. (I’ll explain the reasons for this later.) Here’s a picture of the parts (including the motor casing, but excluding the parachute and associated recovery paraphernalia, which I will order from Fruity Chutes).
The tubing is not wound cardboard. Instead, I’m using Blue Tube from Always Ready Rocketry. Though I’m sure this is overkill, as are many of the other design features, who knows: maybe I’ll use this rocket for L-2 cert, just for kicks and giggles (later, much later). The airframe, motor mount tube, and avionics bay are all Blue Tube.
I’m using aircraft-grade plywood for the fins and the centering rings.
Various miscellaneous hardware is also in the picture, including U-bolts, stainless fasteners, stainless swivels, rail buttons (no, I’m not planning to use the entire bag!), and the motor retainer. There is a little bit of hardware not picture there, including a couple of eye bolts.
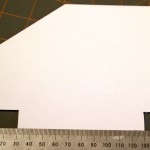
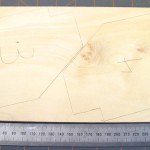
All four fins are also cut out. Pictures from the process are below.
The fin pattern is cut from cardbard. I printed the fin planform from Rocksim, taped that piece of printer paper to the cardboard, and used an X-acto knife to cut the pattern out directly. Then, I traced the fin pattern onto the plywood, and used my scroll saw to cut out the fins. I always number the fins, and fit each one at a specific position on the rocket, to ensure as close to a perfect fit of the tab into the slot as possible.
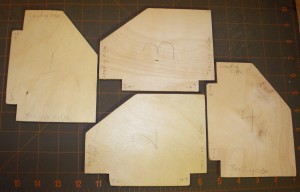
You can see the fins cut out, below (the grid on the cutting mat is in Imperial units). After cutting them out, I sanded the edges and the surfaces, to smooth everything and begin preparation for finishing and painting, and for fitting into the body tube slots. Note also the leading and trailing edge indications, to help ensure I install the fins correctly!


