AS-501
First, the back story.
A few months ago, one of the guys on the LUNAR club list, Paul, sent email offering a 1:70 scale Saturn V model. It was partially completed, and needed finishing. Paul realized he’d never finish it, and wanted to see it fly. It had been modified from the original 29 mm motor mount to use a 38 mm motor mount. The rocket was structurally complete, though two of the four fins were broken off, another was damaged, and there was damage to some of the vacu-formed wraps that add detail to the model. Another Club member, Tony, had done the original work on the construction, and it had sat at that point for a long time.
I agreed to finish it, and the general Club consensus was that I should.
Having built one of these before, and modeled Apollo 15 (AS-510), I decided I’d model Apollo 4 (AS-501) this time. It’s not a trivial task: AS-501 has some structural and paint differences from Apollo 11 (AS-506), on which the model and the finishing instructions were based.
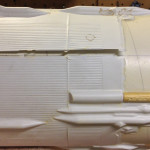
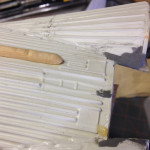
Before starting the real work, repairs were in order. Left and right are before and after pictures of one such repair.
These wraps are finicky: getting them on in a way they’ll stick, without damaging them (cracking or melting from the adhesive) is difficult to begin with. If the wraps aren’t good and tight around the airframe tube, moreover, they’ll be suceptible to cracking as the rocket is handled during building.
To effect repairs, I used a little bit of foam-compatible CyA and a fair amount of epoxy clay. In particular, I used the epoxy clay to fill all the gaps, and a slurry of epoxy clay thinned with 90+% isopropyl alcohol to fill the cracks. Tedious, but it seemed to work well. Most of the time, I resorted to using a hobby knife as a spatula to apply the slurry.
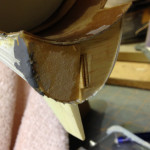
It was more than just the wraps that were damaged. Over the years, the wooden base form of one of the fin fairings had broken. I decided to remove the detritus, essentially breaking it further (this is shown to left) and then cutting out and gluing in a new base piece.
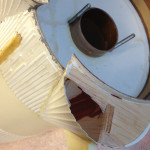
The fin fairing wraps are particularly delicate: there’s not much behind them except air, and it’s very easy to break them. In addition, they have to be glued down while under stress, since the curvature of the wrap almost certainly isn’t exactly right. This makes it particularly easy to crack or melt the fairing wraps. This model suffered from some of both, cracked fin fairings and melted fin fairings. A picture showing one of the repairs is on the left.
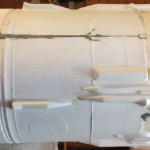
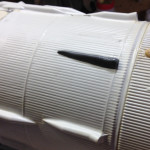
AS-501 had eight ullage rockets on the S-IC/S-II interstage (as did AS-500F [the facilities checkout vehicle] and AS-502 [aka Apollo 6]). The Apogee kit comes with four ullage rockets molded into the wrap, which is correct for AS-503 (Apollo 8) through AS-509 (Apollo 14). On the right, you can see one of the extra four ullage rockets I added to this model.
As I did on the AS-510 model, I filled the spirals in the airframe body tube to give things a more finished look. This committed me to a lot of sanding (for which maybe I should have been committed!), but the end result will be much nicer. I admit that I didn’t do a grade A job of filling and sanding, in part because I really want to get this done in time to launch if we can fly in April.
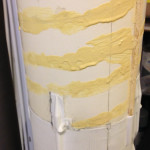
Pictures left and right show the spirals before and after sanding. Below center, you’ll see that same area after the first coat of primer went on.
Following that first coat, I sanded, and applied another coat. After sanding that, I decided it was time to paint. But first, I took care of the broken fins, removing their roots, and those of the other fins (which were damaged), with a plan of just replacing all four fins. Some touch-up priming, and it was painting time.
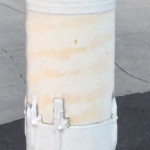
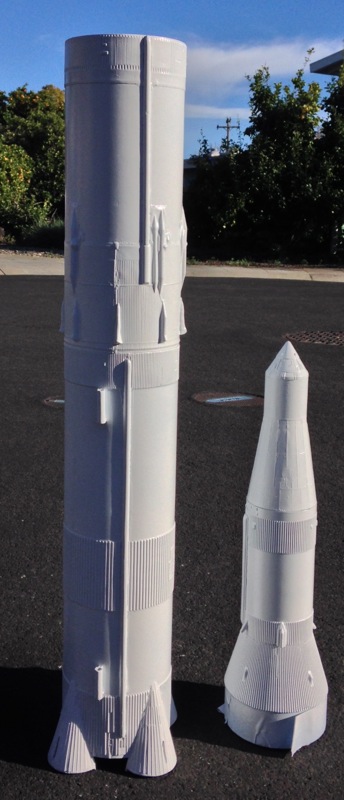
Below you’ll see the current state of affairs: the rocket has its base white paint on. Next up: masking, and then painting a slightly off-white (pseudo-weathered look), to get the right look for AS-501 as it was ready for launch. Then, more masking and painting the black roll pattern, along with some final research on the CM radiator panel configuration and paint scheme.
[…] AS-501 […]