AS-501 Flight
April 4, 2015. It’s been a long time since then, but that’s when my AS-501 model flew.
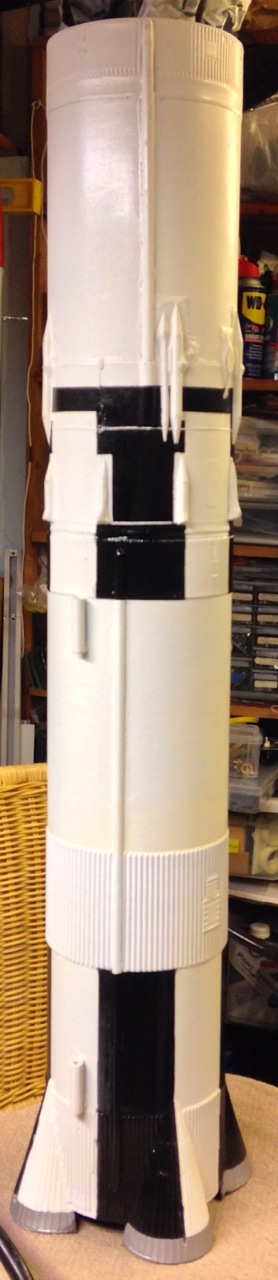
Waaaaay back in March, I posted my previous AS-501 entry. In our last episode, we left the bird all in white. Here’s the reset of the story.

Masked for extra white

Black roll pattern painted
AS-501 is, in the true sense of the word, unique. For one thing, the S-IC left the factory with a different paint scheme than you see in the pictures of the bird on the pad. Those pictures show a roll pattern like every other Saturn V flight article. In fact, AS-501 originally had a roll pattern like that of AS-500F, the facilities checkout unit. (You can see a sample photo here. Notice the black roll pattern extends into and fully around the top of the intertank section.) This roll pattern had much more black paint. NASA realized that this paint absorbed more heat from the sun, which resulted in higher internal fuel tank temperatures, making it more difficult to keep the cryogenic oxygen cold. They painted over that roll pattern, and it looks, at more than first glance, to be the normal S-IC roll pattern. If you look very carefully, though, you’ll see that there’s a very slight shadow of the original black showing through the white over it. I tried to mimic that in my AS-501 model.
I’ve outlined other differences in my previous AS-501 post.
Roll pattern
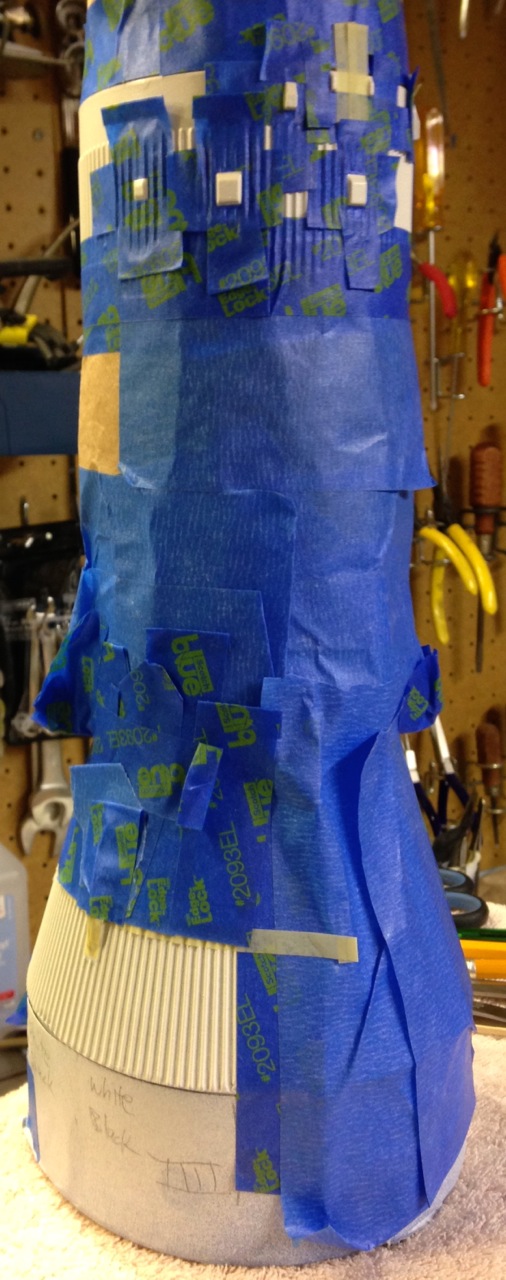
Upper portion reverse masked
The masking and the painting and the unmasking and the masking and the painting and the unmasking continued. And continued. And continued. That’s the lot of a Saturn V modeler: that iconic roll pattern is an ever-present cursed bane.
If the S-IC and S-II roll pattern masking doesn’t drive you batty, just wait until it’s time to mask for the S-IVB’s antennas. At the right, you’ll see the S-IVB with its after interstage and the IU. The area with all those white squares near the top is actually reverse-masked, so I can apply some masking goo on just the antennas. I’ll peel away the masking tape leaving just the goo over just the antennas, then spray black. Masking some of the details that extend into the roll pattern (parts that should be white in an area painted black, like the retrorocket that’s masked in beige just extending below the blue tape on the left side of the picture, perhaps ⅓ of the way up) was also a challenge.

RCS quads painted

Fly-away umbilical plug background
On the left, you’ll see the RCS quads. They presented their own challenge—not so much because of the masking (none, really) or colors (though I wanted to match the sort of iridescent black one sees in an unflown RCS quad bell), but in the modeling. One of the RCS quads had a broken nozzle, requiring repair. If I look carefully, I can find the hand-crafted one. I’m not completely happy with how the paint flowed, but the paint flowed.
On the right is a detail of the masking and painting of one of the S-IVB’s fly-away umbilical panels (this is at Position II). Though the kit includes decals for some of these panels, it doesn’t include all of them. If I wanted to be accurate, I hand-painted these. First, mask. Then, paint the yellow. After the yellow’s dry, unmask, then paint some black dots (representing the plugs). Let that dry.

Fins showing cutting guides on the tabs
Three more steps remained. First, I had to reattach the fins. When originally built, the fins were attached. By the time this kit reached my hands, some of the finds had been broken off. One of the four fins was completely broken off, the other was broken part-way down. I decided that the best thing was to finish the job, break the second one off all the way down, and then replace both fins. As you can see in the picture on the left, the fins are through-the-wall affairs, with very deep tabs. Rather than trying to effect a surface mount repair, I decided to excavate out some of the tab (since fully extracting it was not feasible without inflicting more general damage on the rocket—e.g., to the fin and engine bell fairings), then carve the tab of the new fin to match the available space in the fin slot. In general, I pulled out more material than the remaining tab in the B fin, above (the fin to the left) would indicate, but I let the epoxy fill in those voids to add strength.
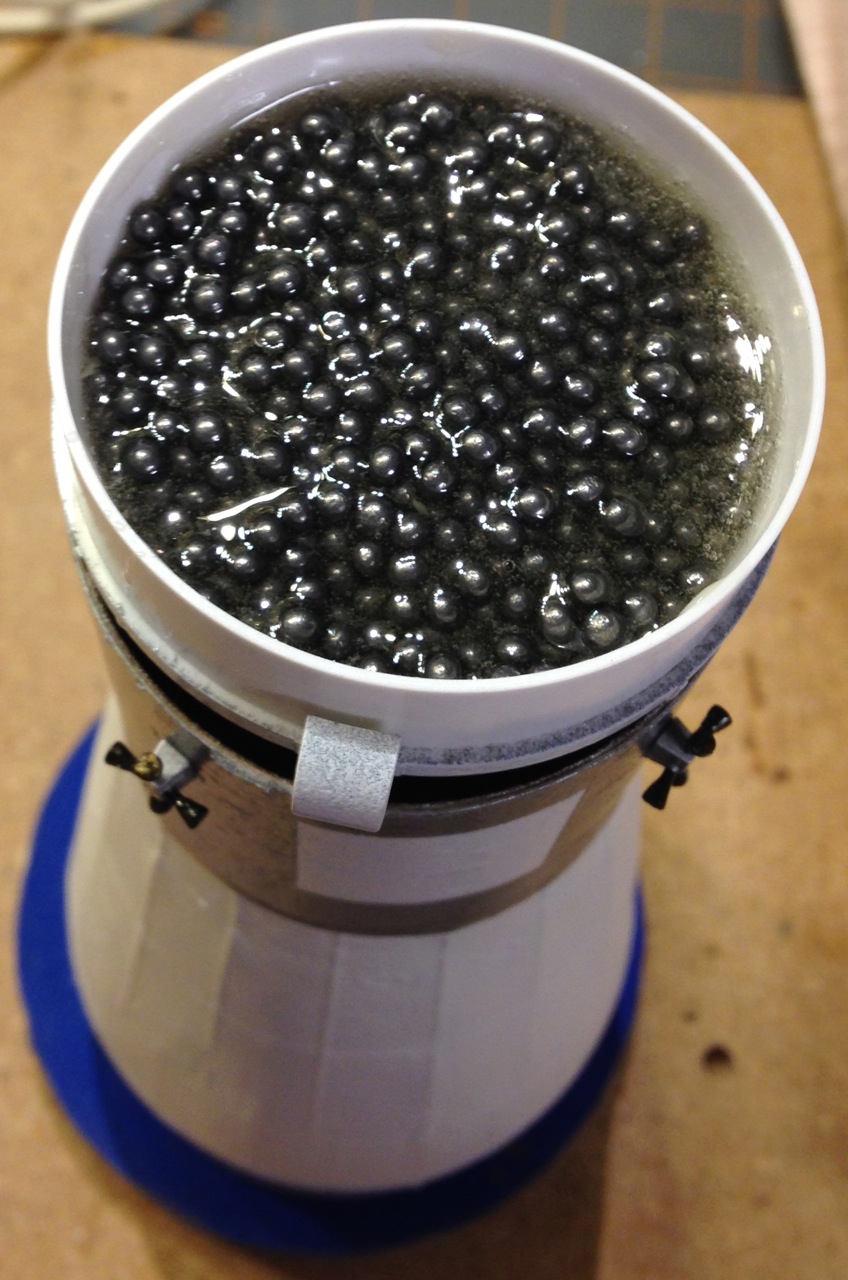
Lead in the CM
Once the fins dried, I found the parachutes I would use (the main chute from my L-1 cert project, and the drogue from the same project, as-yet unused, since I’ve only flown it single deployment), attached those and some parachute protectors, and put a full motor into the rocket. This let me determine the CG, to check stability. Not surprisingly, the CG was very far aft—too far aft of the CP for good stability. Time to add weight to the nose.
The available space for the weight was the command module. The clay provided with the kit was inadequate: there just wasn’t enough to balance the rocket. I had additional modelling clay available, but I checked its density and the volume of the space in the CM, and concluded that clay simply wasn’t dense enough to do the job. The only practical thing that would work would be lead. Lead shot, for example.
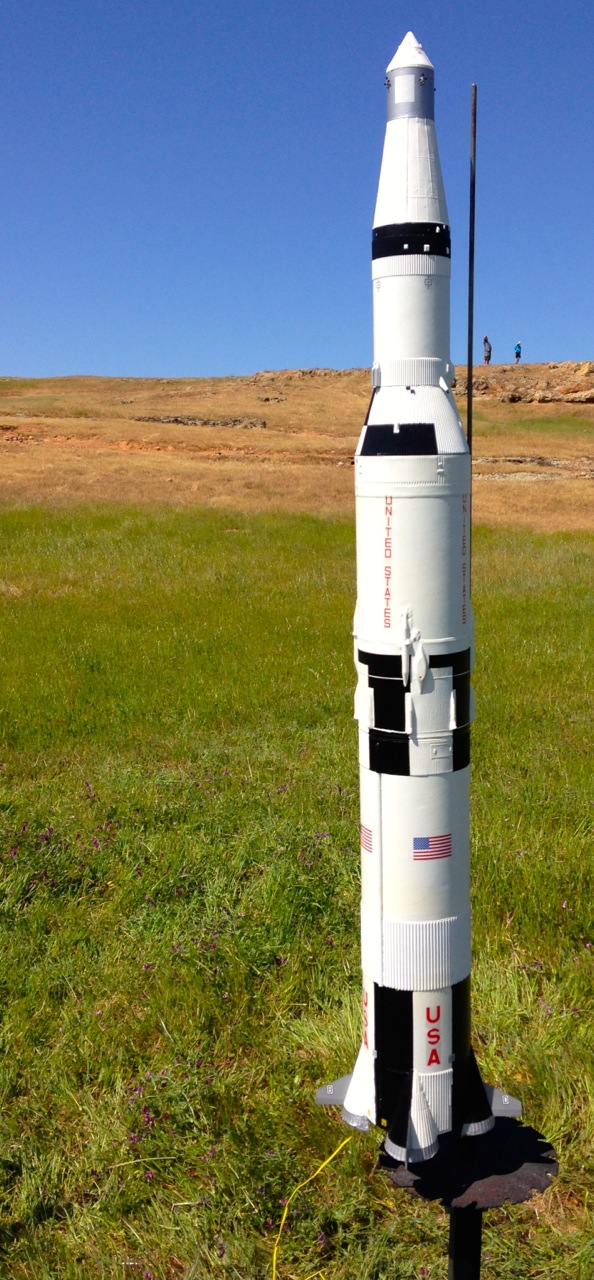
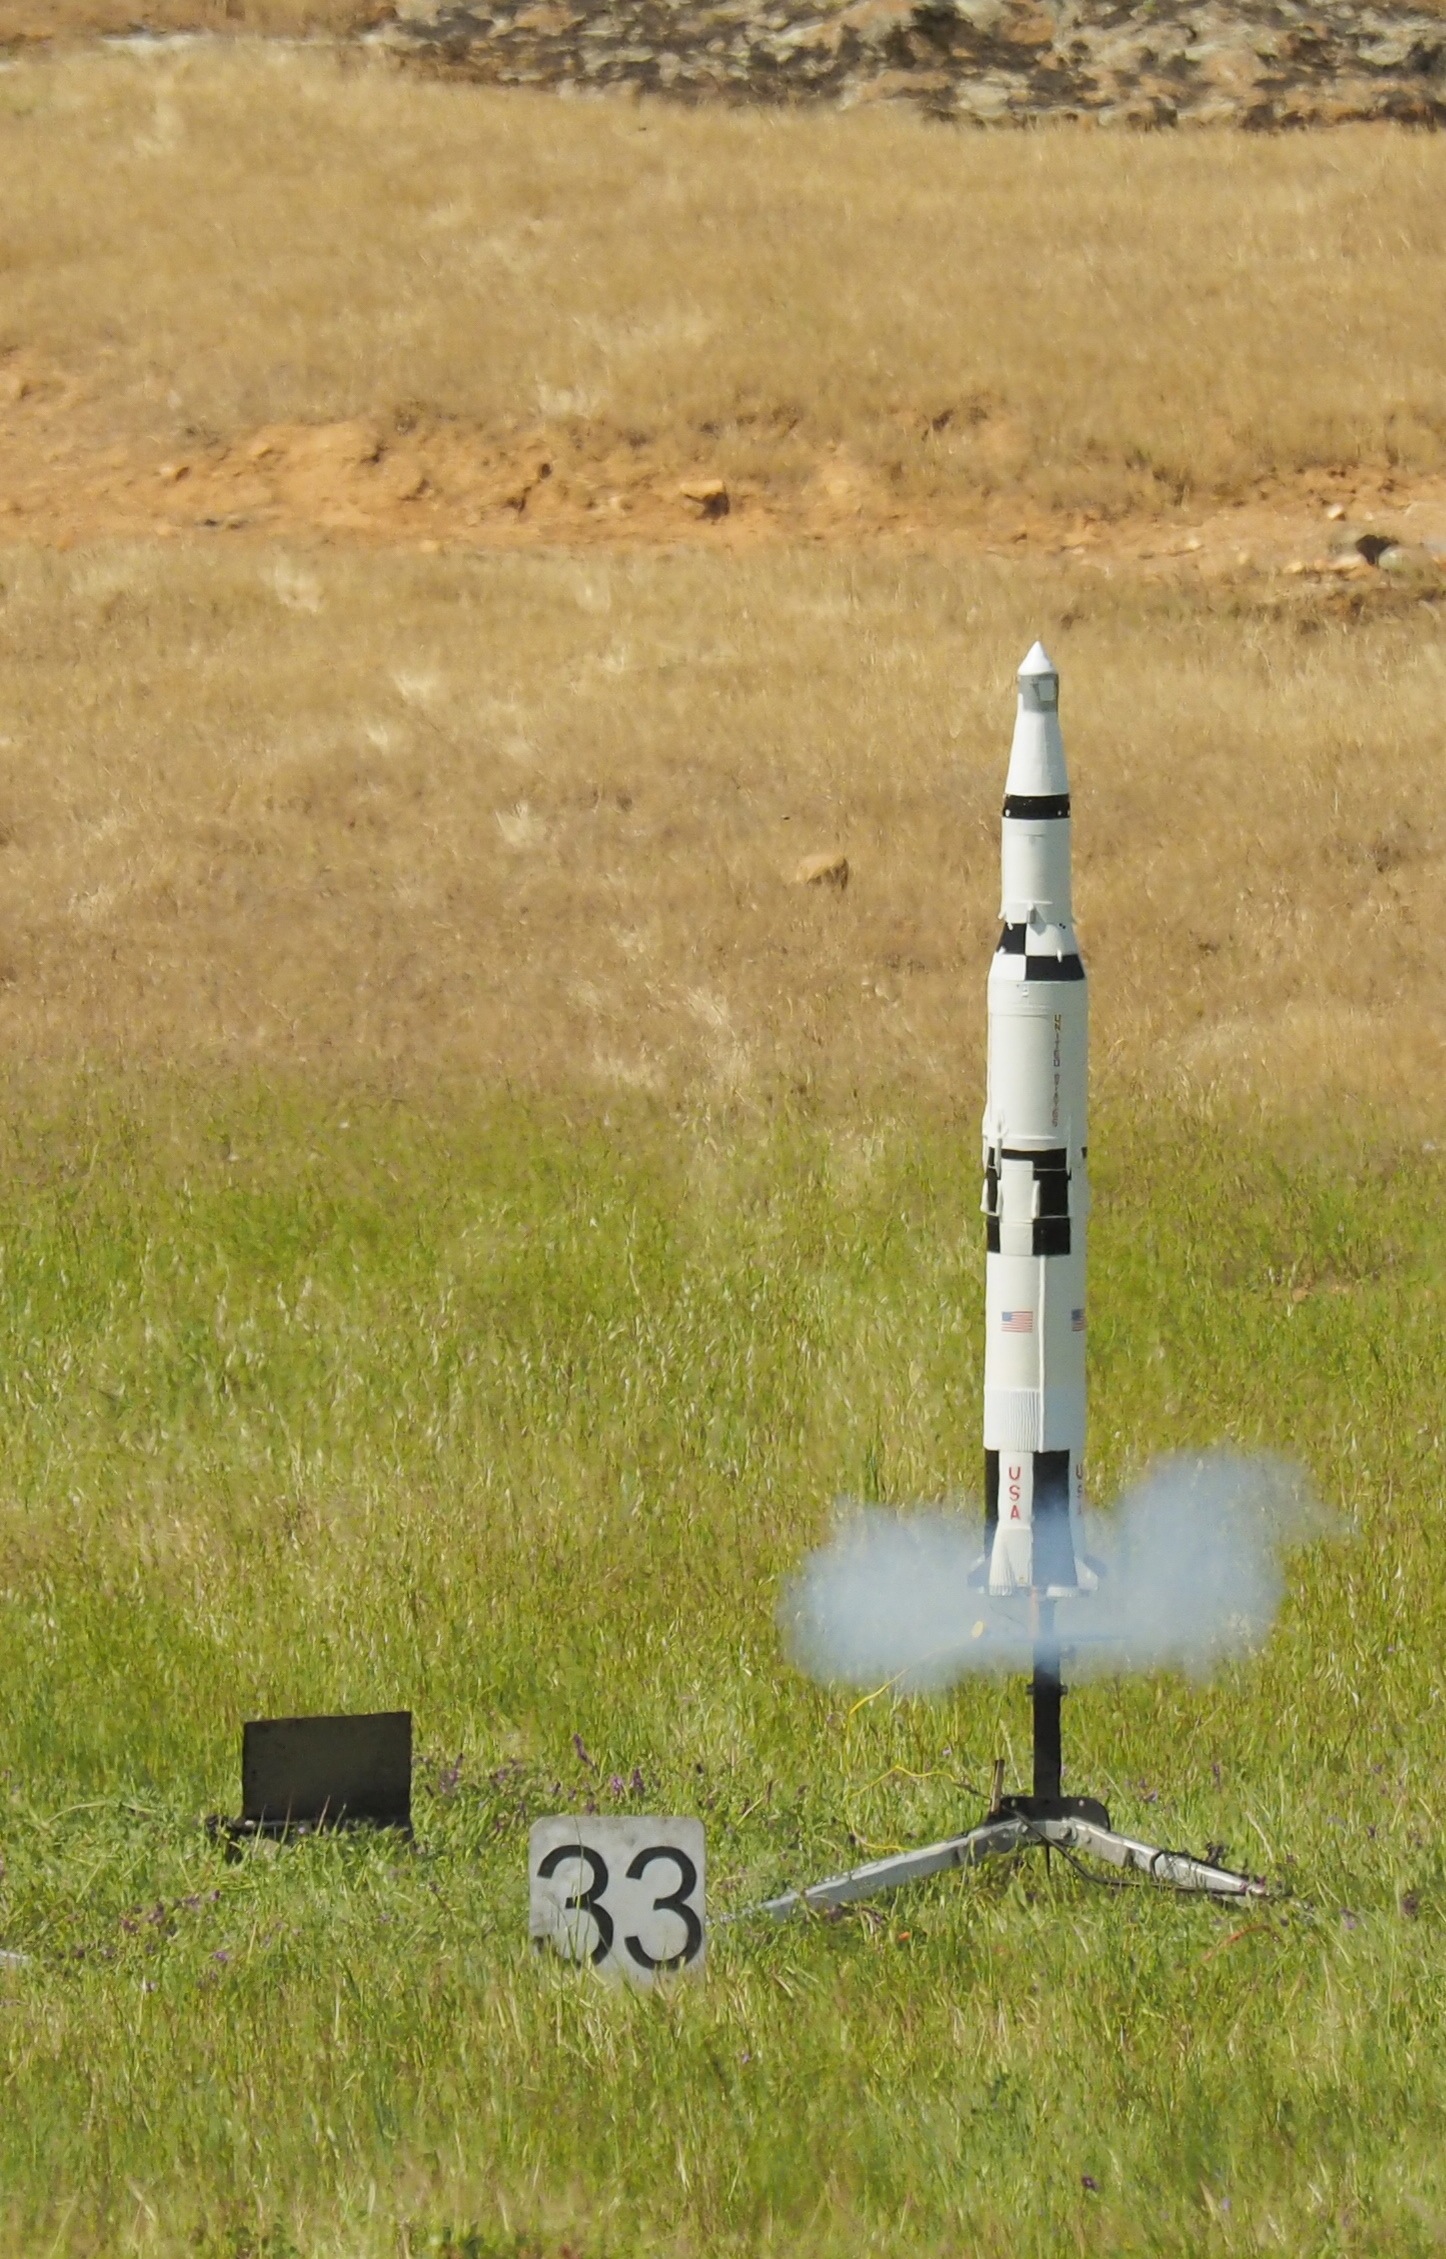
On the pad, ready to go!
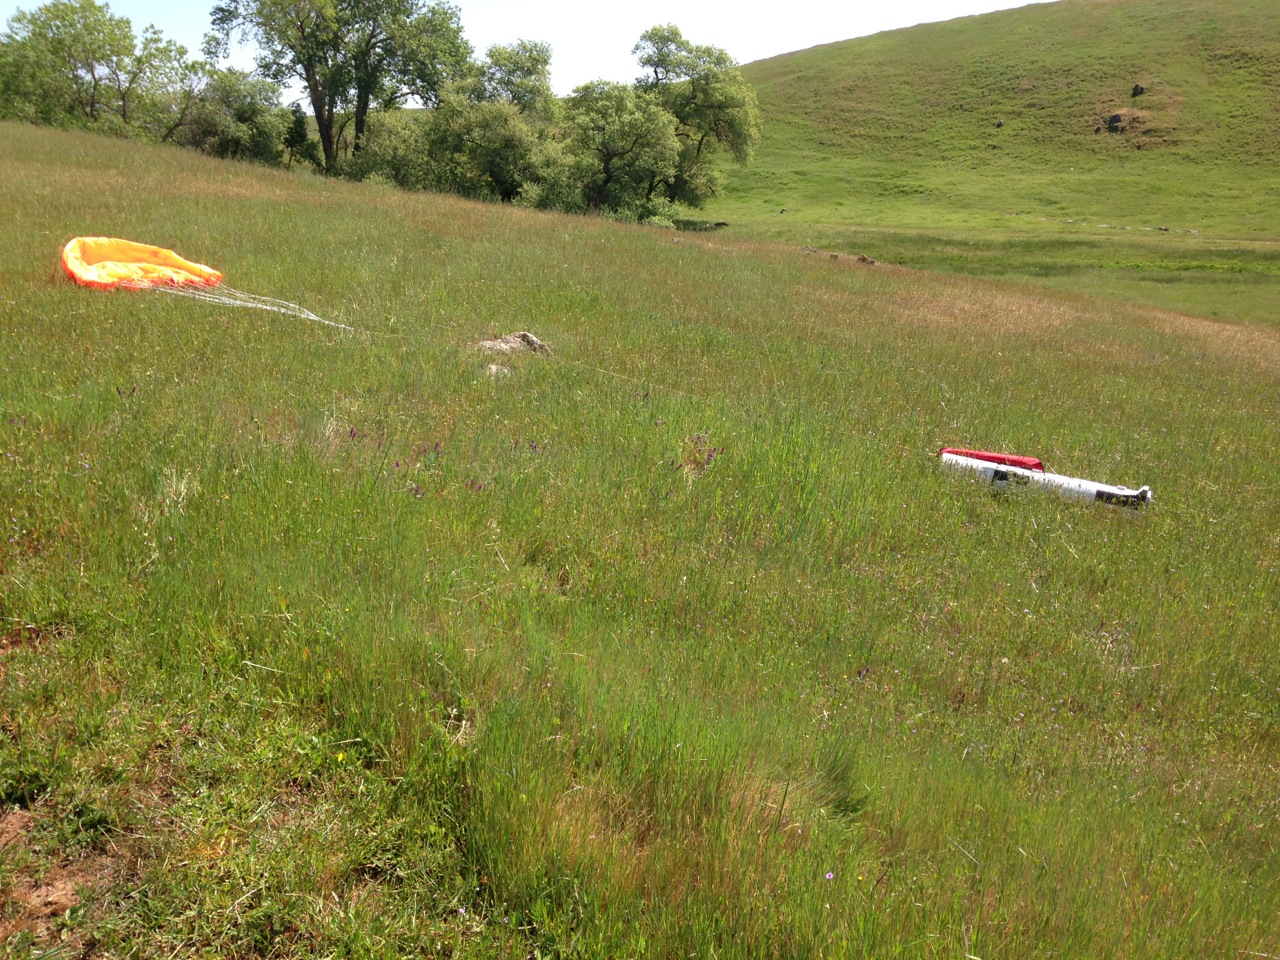
Recovered!
I didn’t have any lead shot. Checking around, the stuff seemed expensive. I didn’t care how I got the lead, all I cared about was that it be in a form like lead shot: small balls. Thinking a bit, I realized that a soft scuba diving weight was just a nylon pouch filled with lead shot. I called a local dive shop, confirmed they had soft dive weights, stopped there on my way home from work, and had five pounds of lead shot for something like a couple dollars a pound. Not cheap, but also nowhere near as expensive as lead shot from a shooting store. I filled the CM mostly full, as you can see in the picture above, and mixed in some epoxy to hold things in place.

Post-flight, lower portion (S-IC, S-II)
It was time to fly.
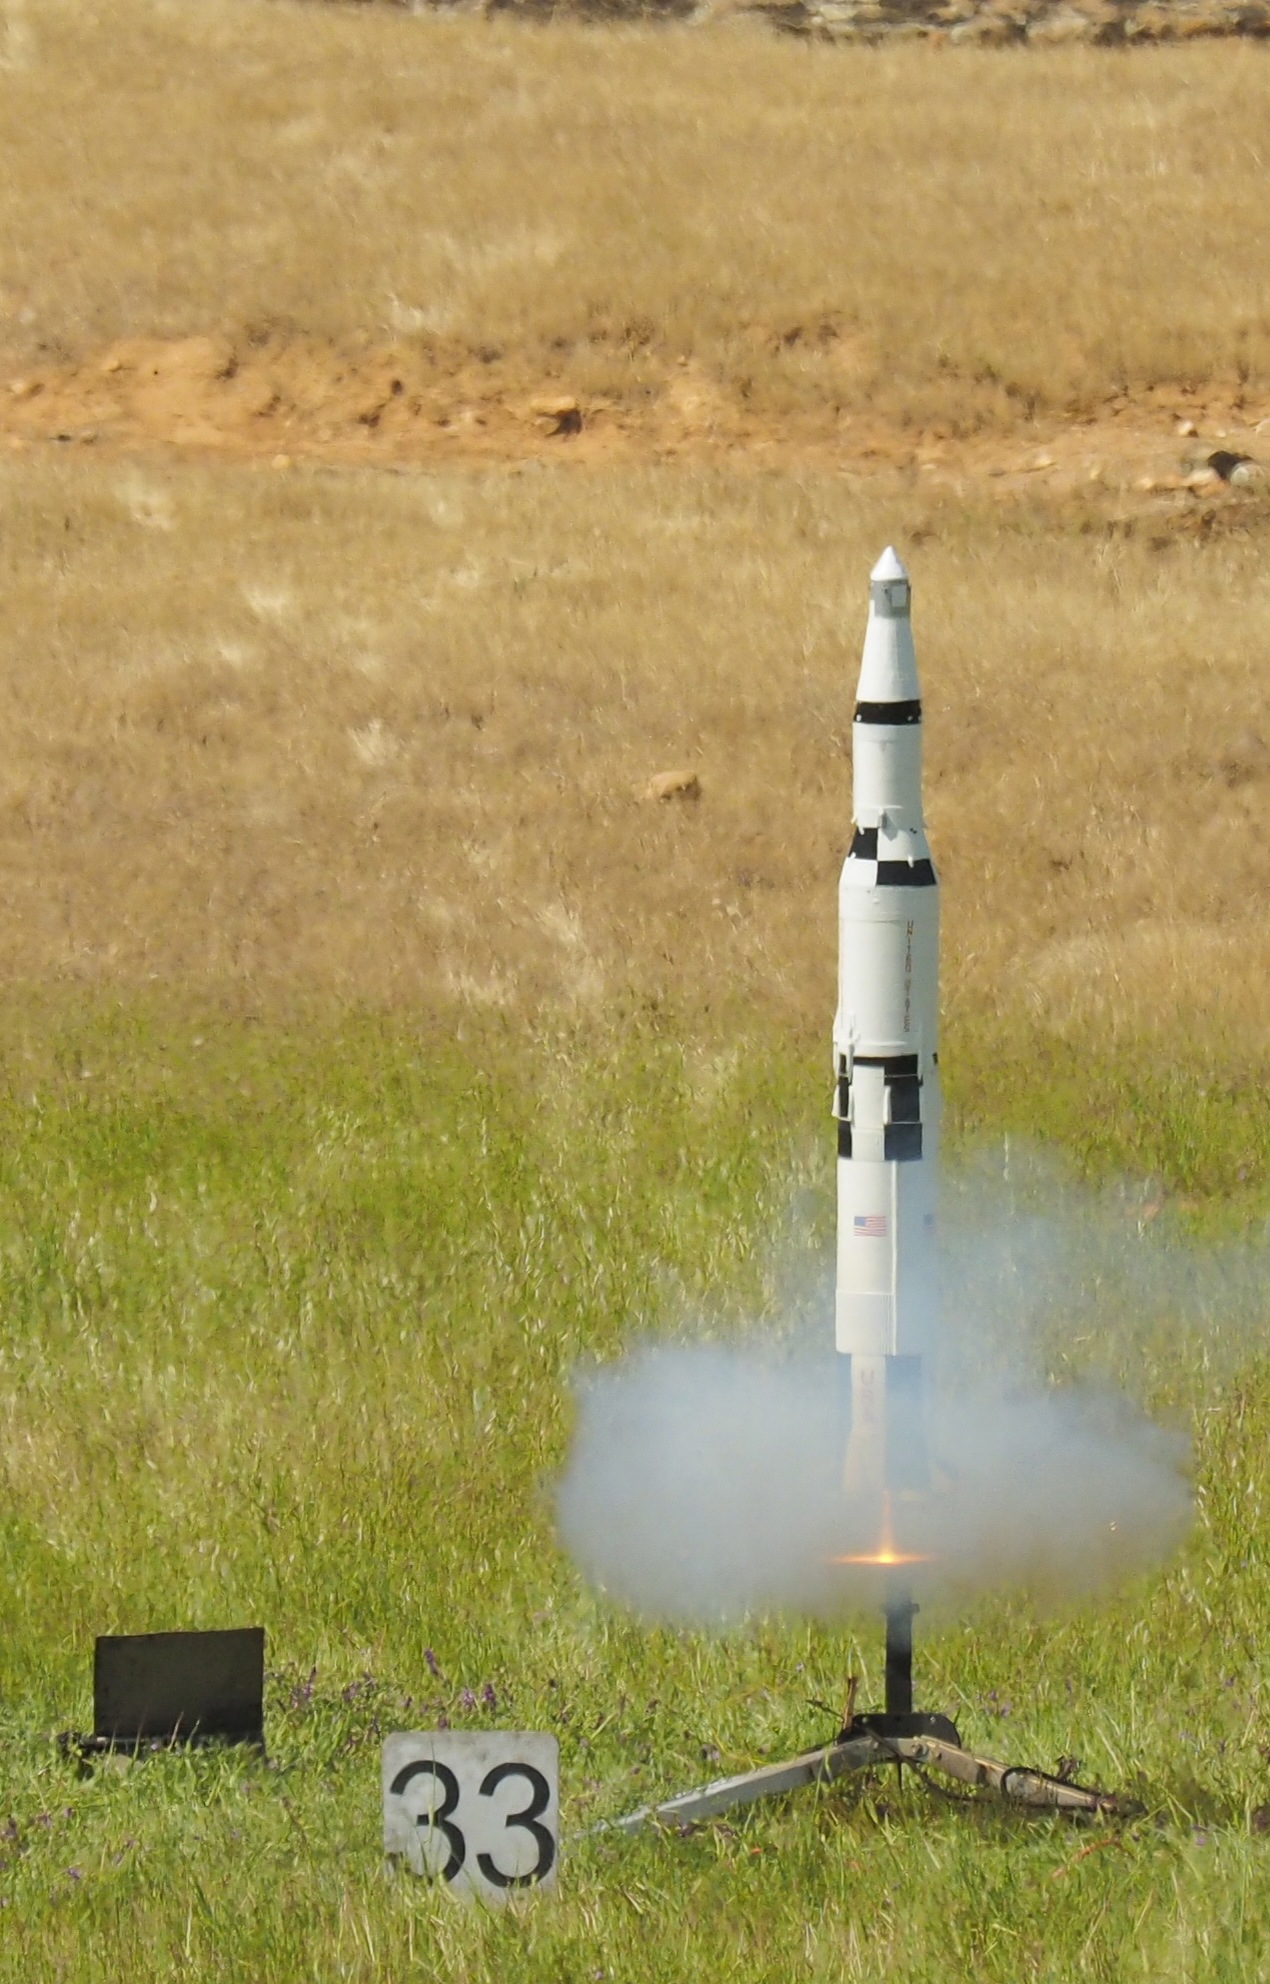
On the left above is the rocket poised on the pad. It seemed a lot of rocket to launch off a rod, instead of a rail, but that’s how it was built before I got it. I thought about adding rail buttons, decided against it. AS-501 flew on a CTI H-100, clearing the tower at about 15 meters/second, reaching about 250 meters altitude. Thanks to a fellow rocketeer, I have a pretty nice ignition and launch sequence: rapid-fire burst of exposures starting just about as the H-100 was lighting, which you can see at the bottom of this blog post. As frequently happened with a composite motor, it took a little time for thrust to build, but not so long as to be of any real concern.
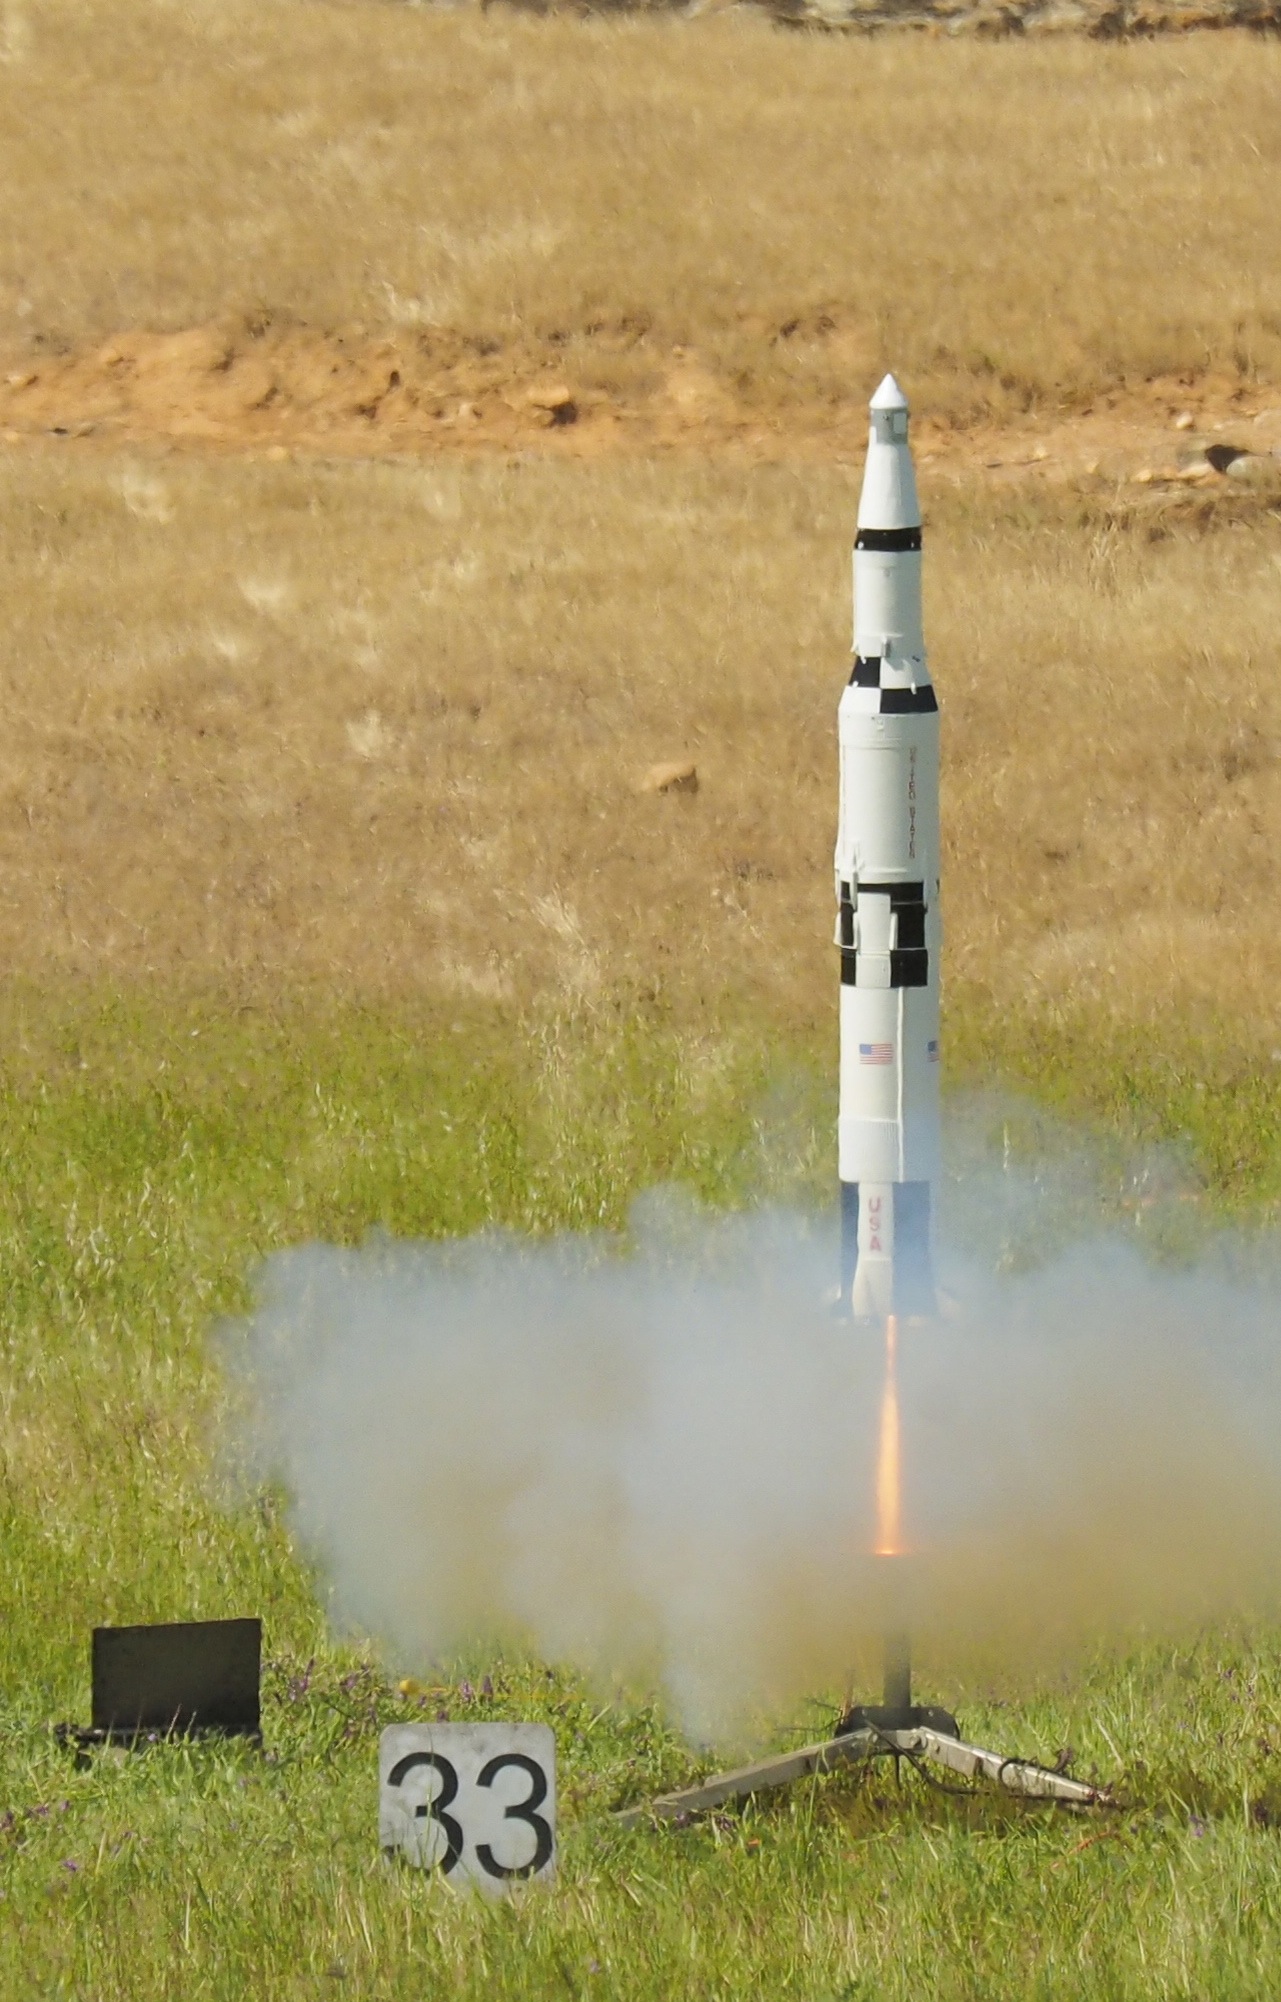
Then, the rocket started to move, climbing away on its flame front, up above the motor’s smoke.
Admittedly, AS-501 looked a little naked without the launch escape system topping the stack, and with just the bare CM there. But, the LES from this model needed a lot of repair work to make it usable, and I didn’t want to put the time into it before first flight—especially since I wanted to meet my commitment of flying the bird during that Snow Ranch launch season.
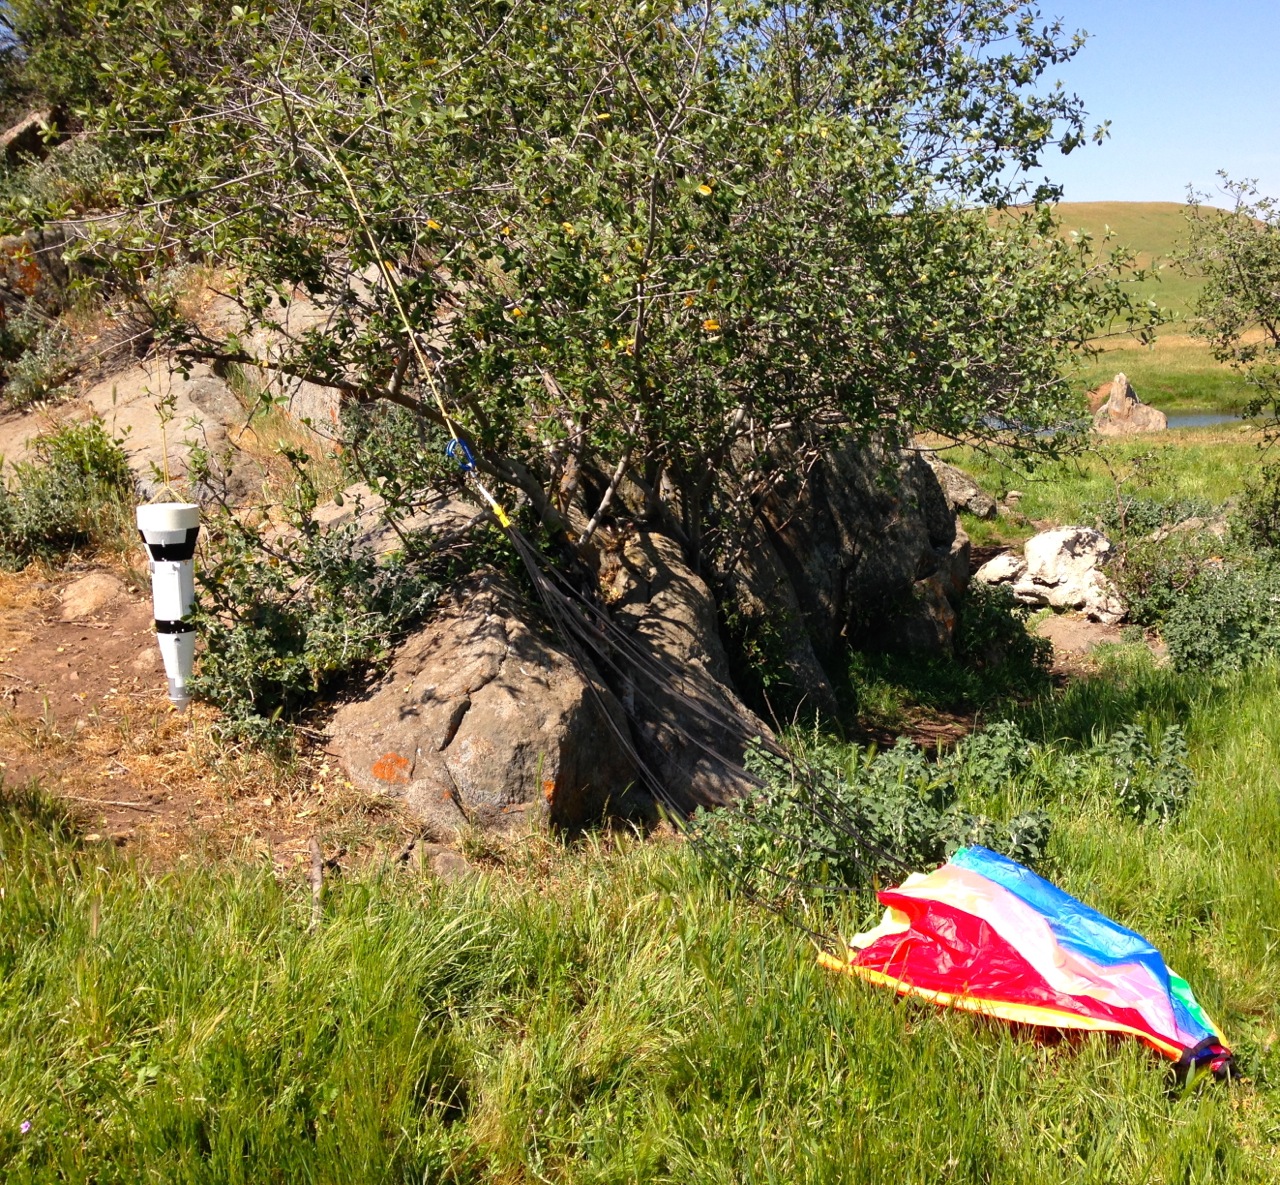
Post flight, upper portion (S-IVB, LSA, SM, CM)
As to the aftermath, take a look on the right above and on the left. Above right is the lower portion (the S-IC and S-II) as I found it in the grass. No damage at all. The parachute laid out very nicely, having lowered the rocket gently. Immediately to the left is a close-up of the landing. Position I is visible on the top side. Looks like a Fin D decal fell off somewhere along the way.
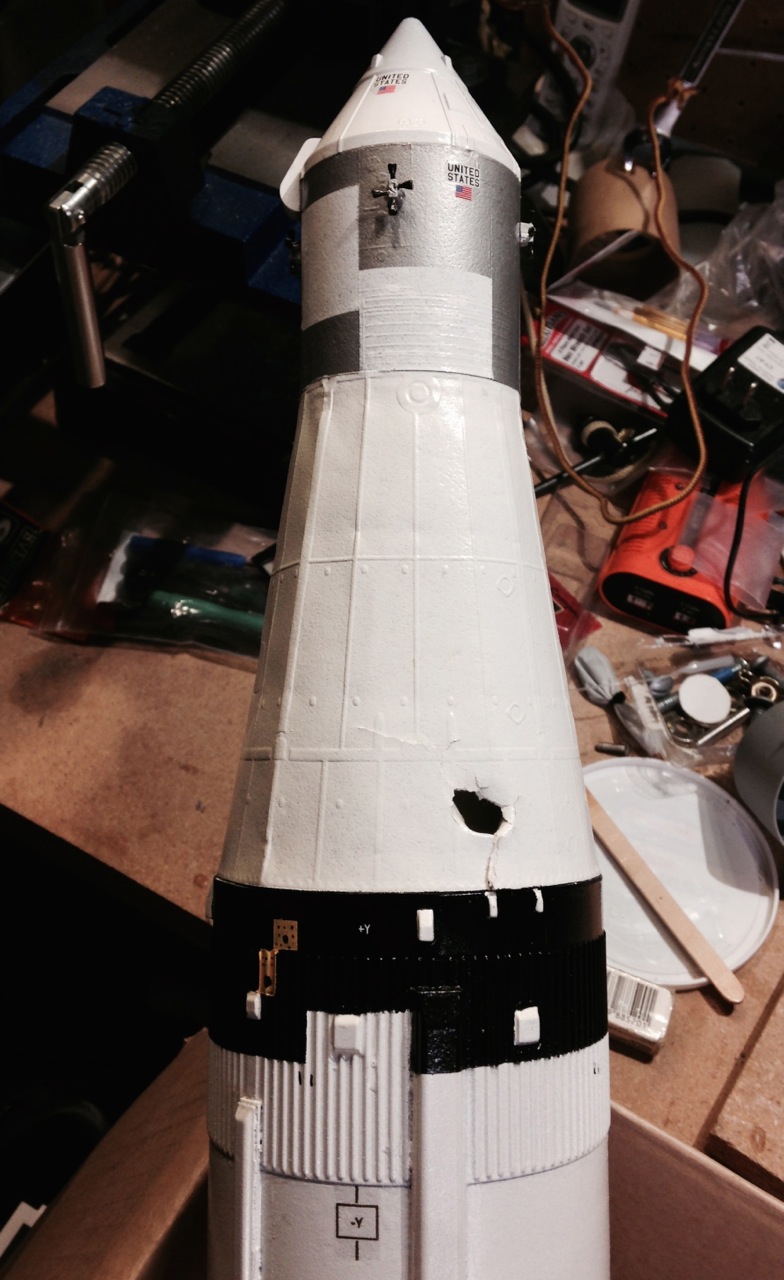
Hole punched in the LSA
To the right is the upper portion of the rocket (S-IVB, LSA, SM, and CM) as I found it. The picture tells the story of the landing: some drift, from the left of the frame, with the shock cord draping over the bush in the final stages of the descent.
Given the location of this recovery site, the bush probably saved some damage, It wouldn’t have been real good if the upper portion of the rocket had hit that large rock that’s just to the left of the image center. But, there was a little damage. It looks, from the picture at the left, as though the rocket either hit a branch as it landed, or it swung into the branch as it hung. It’s not a lot of damage, and the only thing that will make it hard to repair is trying to make it as invisible as possible.
In addition to other projects (Folie à Trois), I plan to repair the hole and launch AS-501 again this fall-winter Snow Ranch launch season.
Ignition
Liftoff!
Good thrust
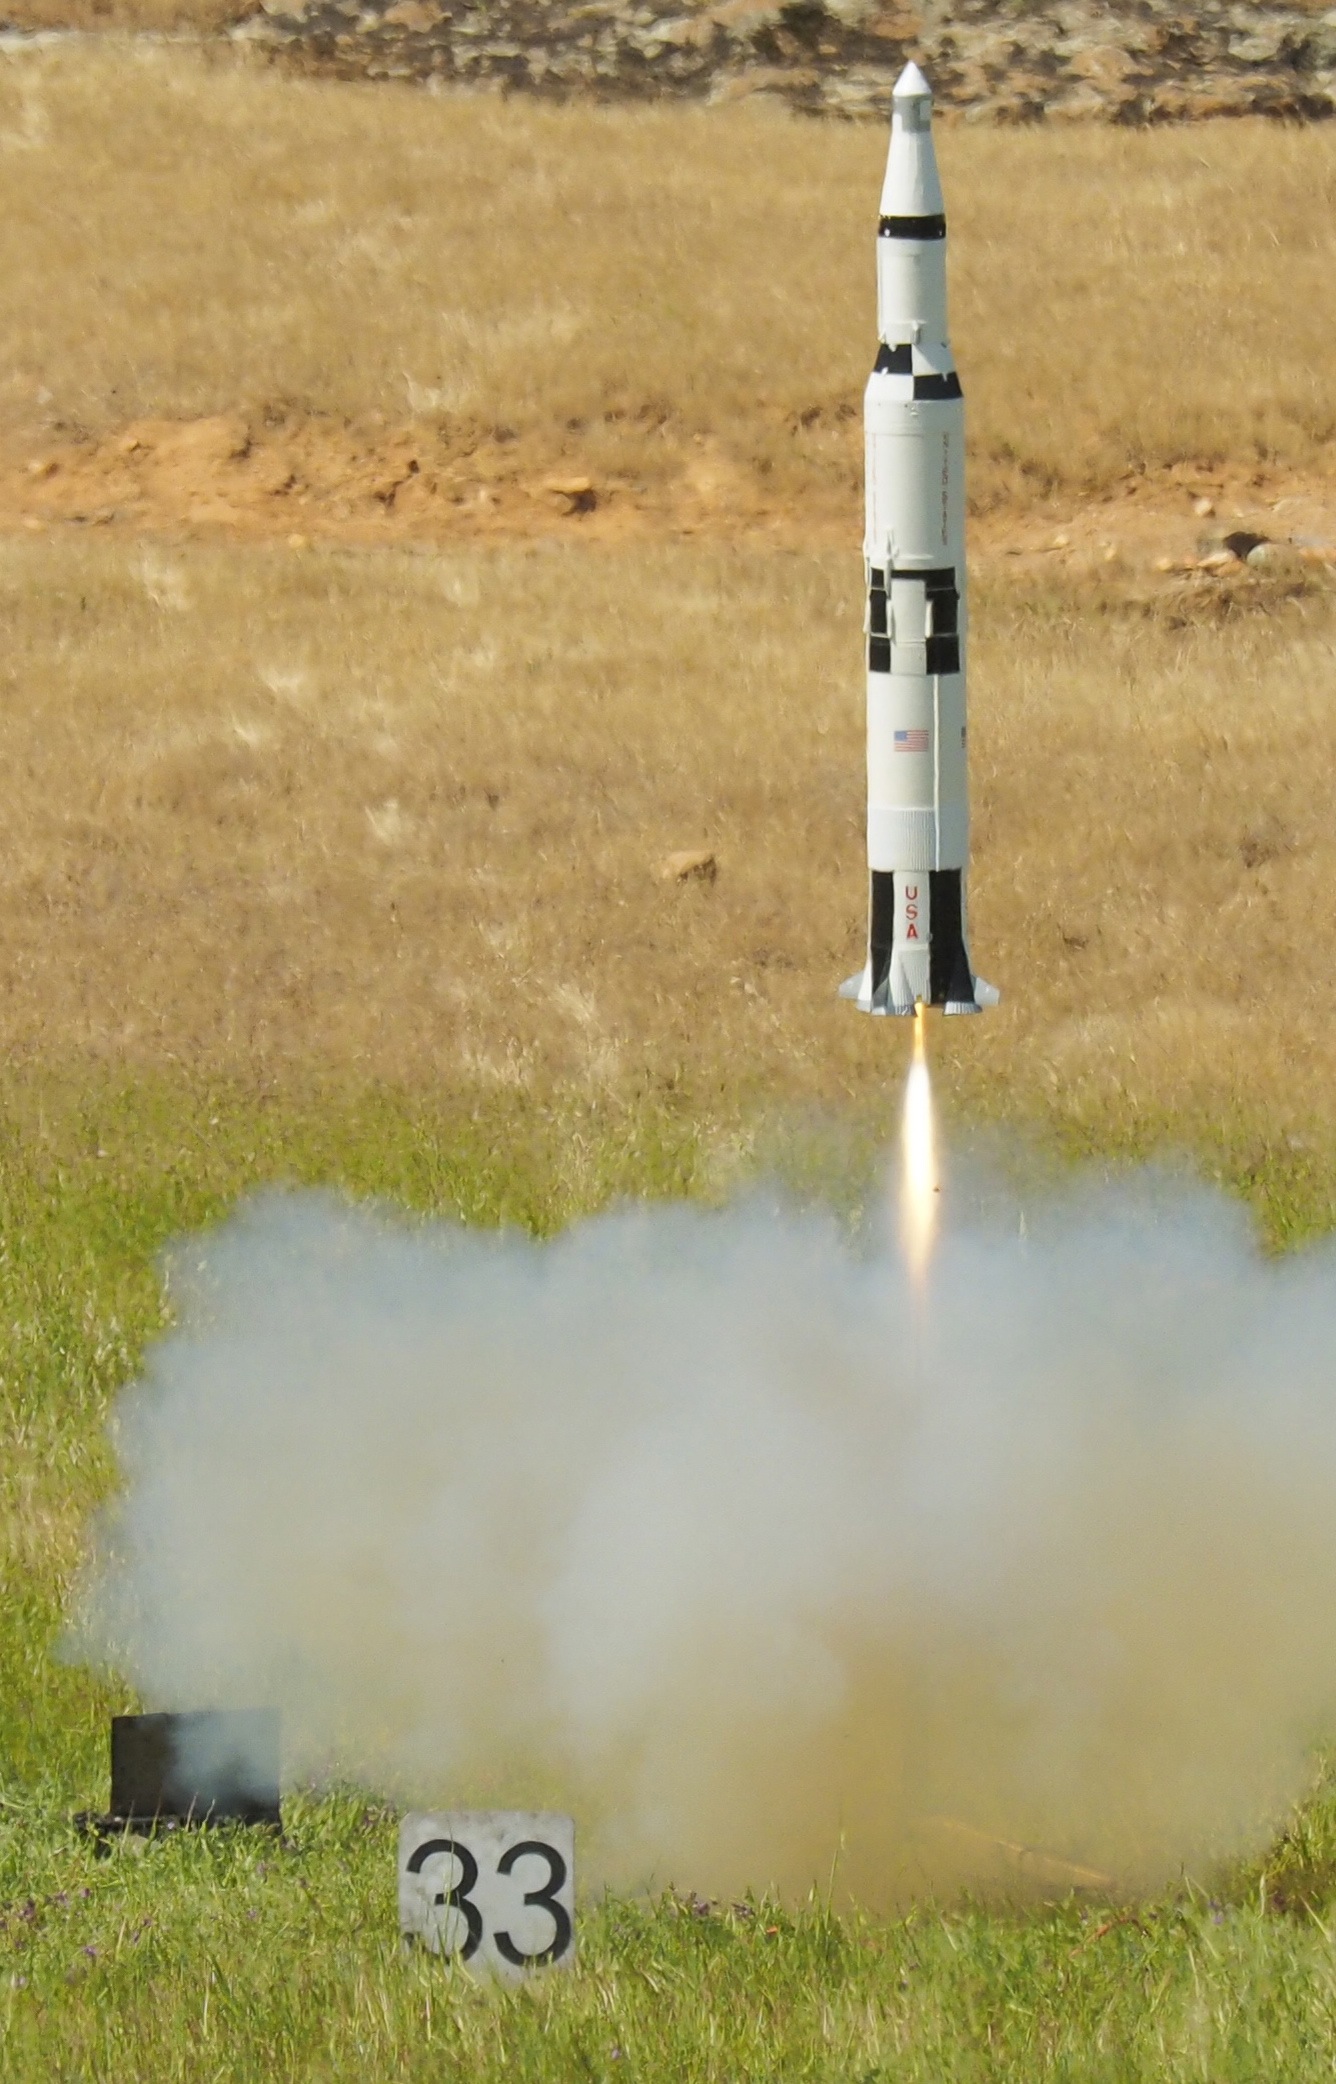
Clearing the tower